Top 19 Welding Tools For Beginners!
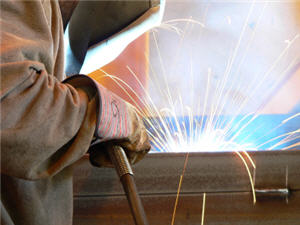
If you are new to welding then this welding tools tutorial will help you get a good idea of what you will need for your up coming welding projects. So let me start right in...
Some of these tool recommendations are not tools you will need right away, but they will make your welding life much easier.
Safety:
Tool #1: A fire extinguisher. Make sure you have a good one that's ready to roll when you have a small or large fire. Don't get a really tiny one. Get one that can handle your shop. You'll be working with hot material, flames, etc., and anything can happen.
You should also have a welder friendly first aid kit handy.
Welding Tools For Metal Preparation:
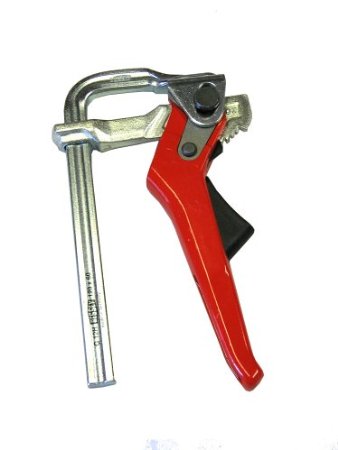
Tool #2: Clamps. You can never have enough clamps. Have all types on hand, but I do recommend the Bessey Rapid Action Clamps because they work fast, are easy to use, and makes the old school clamps look like something out of the middle ages. C-clamps are really easy to find new and used, and they are cheap. Check garage sales and Craigslist.or and get a bunch of them.
Any time you can get clamps pick them up because you'll always need more and more clamps; you'll be amazed at how many more clamps you're going to end up needing even when you're using all of them.
Tool #3: Your shop is not complete without a chopsaw or Portaband saw. Many hobby welders like the Portaband saw much better than the chopsaw because the chopsaw makes a a lot of sparks and is loud, while the Portaband saw is just the opposite and makes good clean cuts.
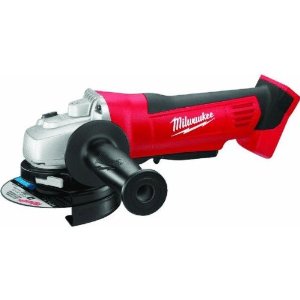
Tool #4: A grinder is something you will be using frequently. They are dangerous so keep that in mind. But they are necessary for beveling and preparing your metal.
You'll use a grinder to cut, finish, clean, and you will use a grinder to put nice looking artsy looks on your metal. There's all sorts of uses for grinder and you can pick up a really good grinder for forty to seventy dollars with all attachments that you need.
They are very versatile. But some welders like to use a pedestal grinder for some of their metal preparation because it's a bit safer than a hand grinder. A really good angle grinder that will last for ever and works like mad is this one by Milwakee.
Tool #5: Die grinder. You can use a die grinder for beveling, and feathering among other things, but it's the same thing as a regular grinder but for more finer work. It will bevel steel like it's butter.
Tool #6: A Sawzall. You'll find that a Sawszall is something you'll for reaching into an area to make a cut which you can't get to with a Portaband. It won't be often but when you need something like this you need it right away.
Tool #7: Cutting torch. A Plasma torch is ideal but they are expensive. They are used to cut metal, and a plasma does a spectacular job. So does Oxy Acetylene. But you should not cut aluminum and stainless steel with Oxy acetylene. So Jigsaw with bi-metal blade might be a good substitute for you.
Tool #8: Drill Press. This is not something you'll need right away if you are doing basic welding projects, but it's highly recommended because it's a very fundamental tool for fabrication and you will need it sooner than later. They are not as expensive as you might think. Look on Cragislist or get a new one from Home Depot.
Tool #9: Acetylene Cutting torch. These are very handy for cutting plates, heating metal, and you can use it to bend metal as well. You really should get one for your shop. You can also use it for Oxy Acetlene welding which is similar to TIG welding but you don't use any power. Just switch the torch from the cutting torch to the welding torch, get your filler metal and you're in business.
Standard Welding Tools:
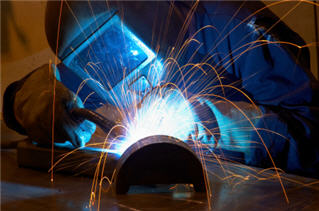
Tool #10: Auto darkening welding helmet. Put simply, this sort of helmet automatically darkens when you begin welding which protects your eyes. There's a computer inside the of the helmet that detects the flashing light from your weld and it activates immediately. It goes dark so that you don't hurt your eyes. As soon as the light from your welding is gone it goes back to normal so you can see.
Basically you can work all day long with all your welding tools and with your helmet on, assuming it's not too hot. Get a good comfortable helmet, not a cheap one that will irritate you.
Tool #11: Gloves. You absolutely must have gloves when you weld and fabricate. There's sharp edges, hot metal etc. Make sure that they are thick enough for you to get the weld in, but thin enough that you feel them with your fingertips. You don't need big over-sized gloves unless you are going to be doing heavy duty welding (industrial and structural).
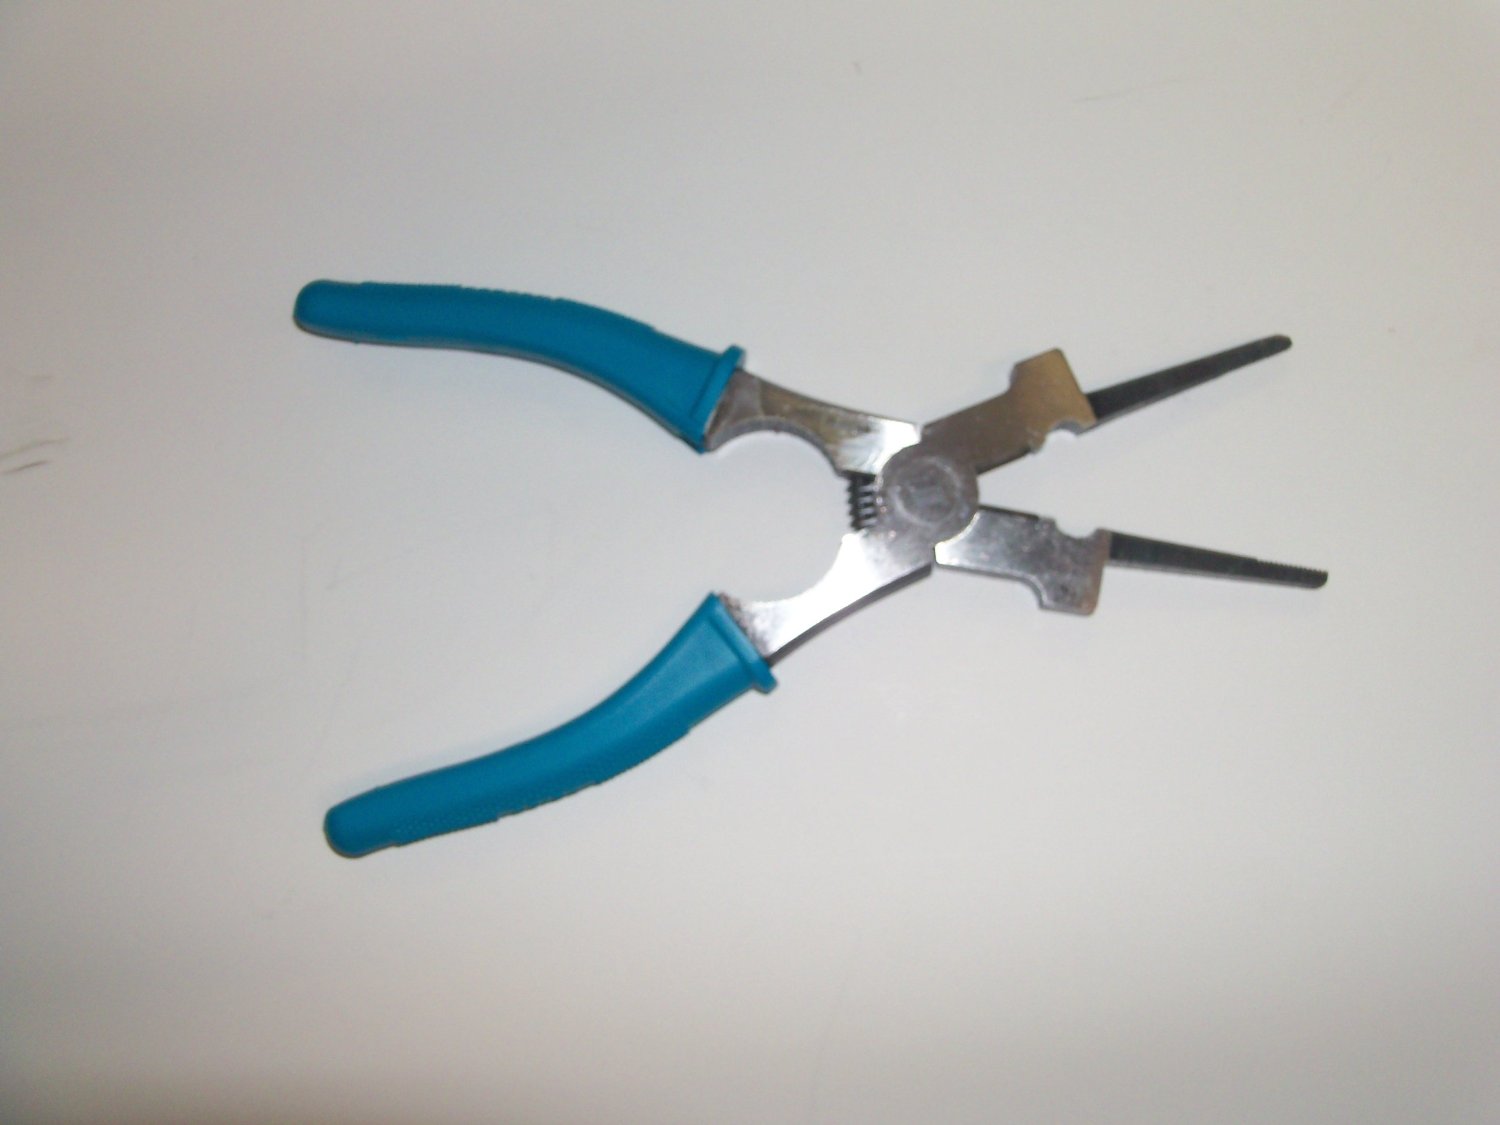
Tool #12: Mig pliers. Since you'll eventually be MIG welding or wire feed welding you'll need a good set of MIG pliers for removing spatter, they will be used for cleaning your nozzle, they cut and draw your wire, and they are used for putting in new tips. Regular needle nose pliers will not do this very well.
Wire is going to be feeding through your welding machine and the welding torch cable and it will get clogged up. And sometimes you have to replace your wire when you run out so you need a good pair of pliers that will last to because you're going to need to make nice clean cuts, and it's very important.
When you weld you'll be doing a lot of metal preparation. As a matter of fact, that is what you will be doing most of the time. Welding is usually fast compared to preparing your project.
You'll need to cut material accurately, bevel, miter etc.
Tool #13: Hammers. You'll need an assortment of hammers over time, but two or three will be just fine to start. You'll need a hammer in case metal gets stuck or something like that. But if you will be shaping metal then there's tons of different types of hammers to discuss. I recommend Ron Fournier's Blocking and Smoothing and Hand Tools DVD's.
Tool #14: Adjustable wrench. You'll need a wrench for tightening the regulator if you are gas welding. Get at least a ten inch adjustable wrench. You can even use it to pry metal a part.
Measuring Welding Tools:
Tool #15: Tape measure. I like to use the 25 or 30 foot tape measure because it has plenty of tape. Once in a while I will use a ten foot tape measure.
Tool #16: Square. If you doing mostly smaller projects a small square will be just fine. But get a larger one for bigger projects. They are not cheap but you'll need one.
Tool #17: Soap stone or pen. You need to make marks for cutting and measuring. Keep in mind that if you need to make precise cuts then you should use a scribe or use a pencil...something that will make a nice crisp line.
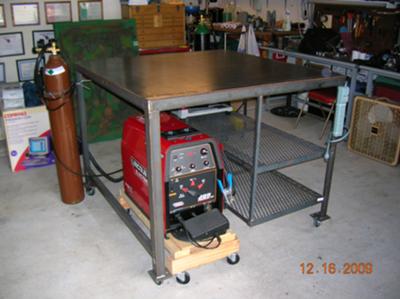
Tool #18: Welding table. Other than your welder, a welding table is your second most important welding tool. Read more about welding tables here.
Welder: Buy Or Rent?
Tool #19: A welder. You should buy one if you will be doing projects on an ongoing basis. But you can also rent one. Home Depot, or a rental business will rent you one for about four hours for around $30 - $50. And you usually get everything you need to start welding.
They're usually set up for a flux core which is explained here. If you need a mask (a cheap welding helmet) they will usually give you one. The good thing about renting a welder is they take care of it. They clean it and maintain it (hopefully), and if there's any problem with it they fix it so you don't have to deal with that.
Recommended:
Copyright WcWelding.com All Rights Reserved.
Welding Plans:
New! Welding Table
New! Log Splitter
Top Projects:


