MIG Welding Tips and Tricks: A Tutorial For Beginners.
Mig stands for Metal Inert Gas. MIG welding is also referred to as Gas Metal Arc Welding (GMAW).
It is also called wire feed welding and wire feed welding is one of the most common types of welding in the industry today because it does very clean and low-cost welds and they are very strong.
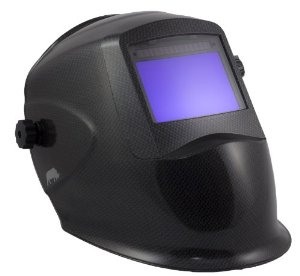
First of all you have to start off with a full-face helmet when you are doing any electrical welding because the brightness and electromagnetic rays that are released as you weld are more damaging than the rays produced by the sun (see image to the left).
You will quickly and easily burn your skin and destroy your retinas forever if you weld without full face MIG welding helmet.
These kinds of helmets have an auto-darkening lens.
You know what else they are good for? They are ideal for checking out solar eclipses!
These welding goggles (lower left) are used for gas welding and using an acetylene cutting torch or something similar which is about 10 times less bright than arc welding so you don’t have to protect your skin from sunburn or anything like that.

Whenever you do arc welding, mig welding, or wire feed welding always have unprotected skin covered by gloves,
long sleeves etc. because you will get a sunburn if you don't protect
your skin.
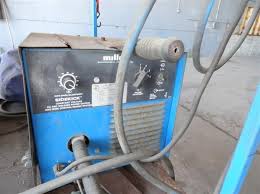
This welder below (an older Miller Sidekick) is called a gas feed welder. This particular model does not have an option for use with wire feed that has flux core.
Many wire feed welders these days do have the option for both gas feed and wire feed but this one does not. When you are using flux core you are using reverse the polarity.
This Miller welder is a DC welder which means it has an AC transformer in it and it changes a 110 volt power supply down to a much lower voltage in AC and it gets rectified through a diode set and comes out as DC.
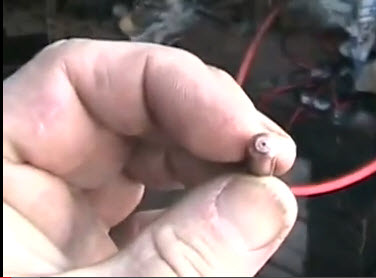
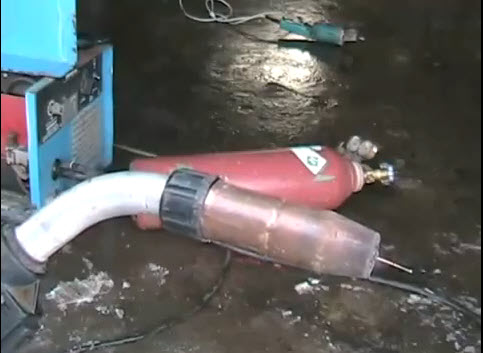
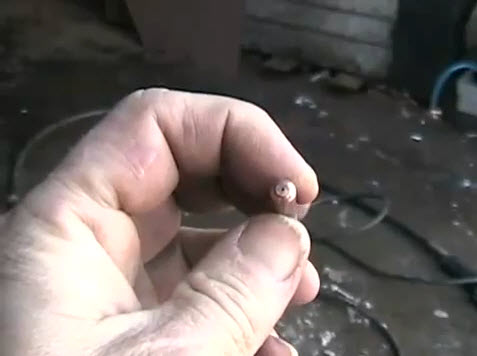
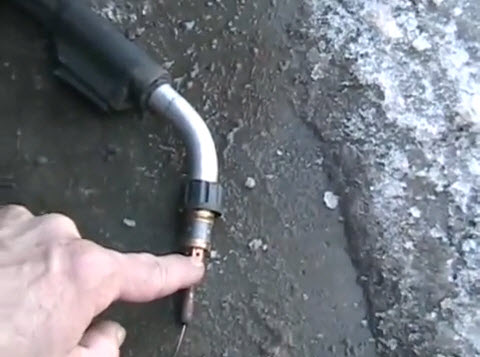
In the tip of your welding head is the wire feed tip.
Side Bar: If you are using flux core it has a much bigger hole because there is flux inside the wire which makes it thicker.
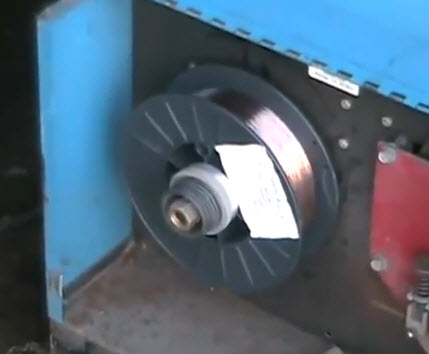
The wire comes on a
spool. This spool happens to be a 10 pound spool:
Very often the filler wire looks like it is copper. It has a very thin copper coating and it is this coating that prevents the wire from corrosion.
The wire gets fed out by a slow motor out the other end.
The motor speed control is fed by a variable knob from 0% to 100%. 70-85% wire speed is the best for most welding projects:
Using Gas Will Produce The Best Welds:
The two most common kinds of gas to weld with are carbon dioxide and argon.
A good mix in my opinion for light jobs is going to have mostly argon. But argon is more expensive.
The second commonly used gas mixture that is used for metal fabrication work is mostly carbon dioxide. And this is probably better for producing deep penetrating welds on thicker metal and structural steel.
I like using a gas mix of mostly argon for small repairs, sheet metal work, and especially auto body work.
The reason I like this gas mix is because:
- It does not
penetrate that deep.
- It gives a nice smooth weld.
- It is very good for working at low amperages to do sheet metal work.
Inside The Welder:
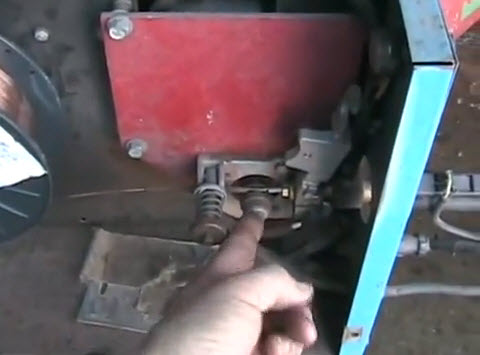
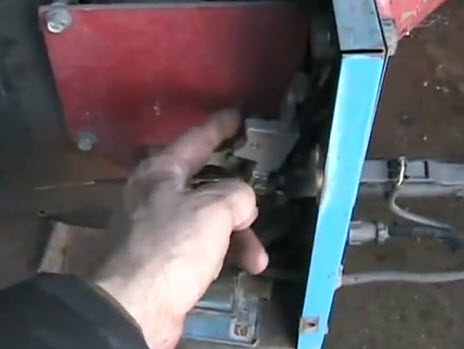
When you're running your welder you will squeeze the trigger on your welding gun and then the wire starts to feed from the spool of wire into this area where a little wheel spins:
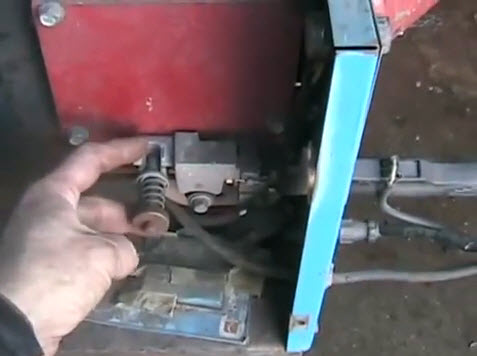
There is another wheel on top here which is simply a bearing:
Once you close this it squeezes the wire between the two wheels and then there is some spring tension here which provides how much pressure is given as the wire is being fed out:
Avoiding Wire Jams:
If this spring tensioner is set with too much tension then you'll get a little weld glob that forms on the tip and then the wire sticks itself to the end of the tip, the wire then gets stuck at the tip end.
Or, if your cable (that connects your welding gun to the welder) is a bit twisted up when you are welding the wire will get stuck as well.
And if the wire gets stuck then what happens is that the feeding wheel keeps feeding the wire and you have a problem because the wire will get all jammed up in that area.
At this point you must stop welding so that you can get the tip unjammed, cut the wire off, and then re-feed the new wire all the way through your cable, which is a massive waste of your time.
So the bottom line here is that you should have just enough tension that you can put the wire through without any problems.
But if something happens and the wire stalls as you try to feed it through your cable to your welding gun and it doesn't make it out, then the wire will slip in the spring tensioner area instead of jamming or bunching up (which breaks the wire).
Side Bar: This is why you should buy a good welder because these problems occur less frequently and if you do have a problem it's easier to get to the problem and fix it.
The tip size I use in this 130 amp Miller MIG welding machine is 23 thousandths but if you want to do body work and sheet metal you can use anywhere from 23 thousandths to 30 thousandths when you are using a gas welder:
A Welders Worst Nightmare and Why You Want Gas:
The reason you have gas coming out around the tip while you are welding is to push away oxygen. Oxygen is a welder’s worst nightmare because it destroys your welds. Oxygen will make your welds so brittle that they are useless.
The shielding gas controls how well the weld penetrates and keeps all the oxygen out of the way which prevents oxidization around your weld.
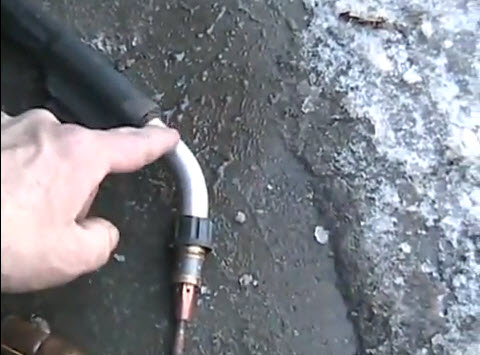
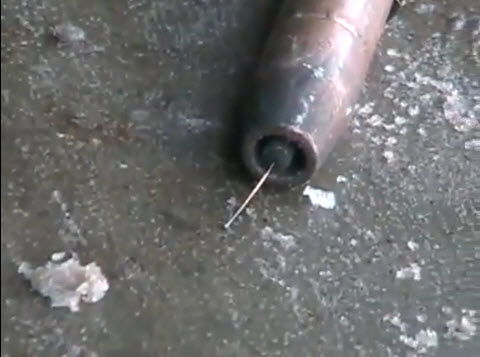
When you take the cap off your tip
sometimes it is necessary to clean it because it builds up crust around it.
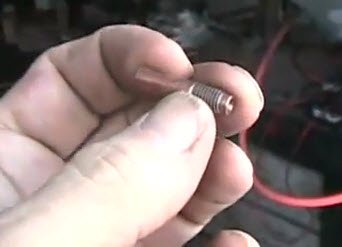
You can see that there is a tube that has a space around it that the gas loads through:
It then comes out these little holes:
It is then directed by the copper tip and forms around the wire tip while you are welding:
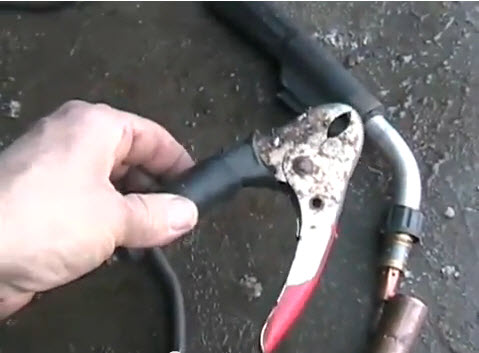
This is what you use as your ground clamp to complete the circuit:
MIG Gas Gauges:
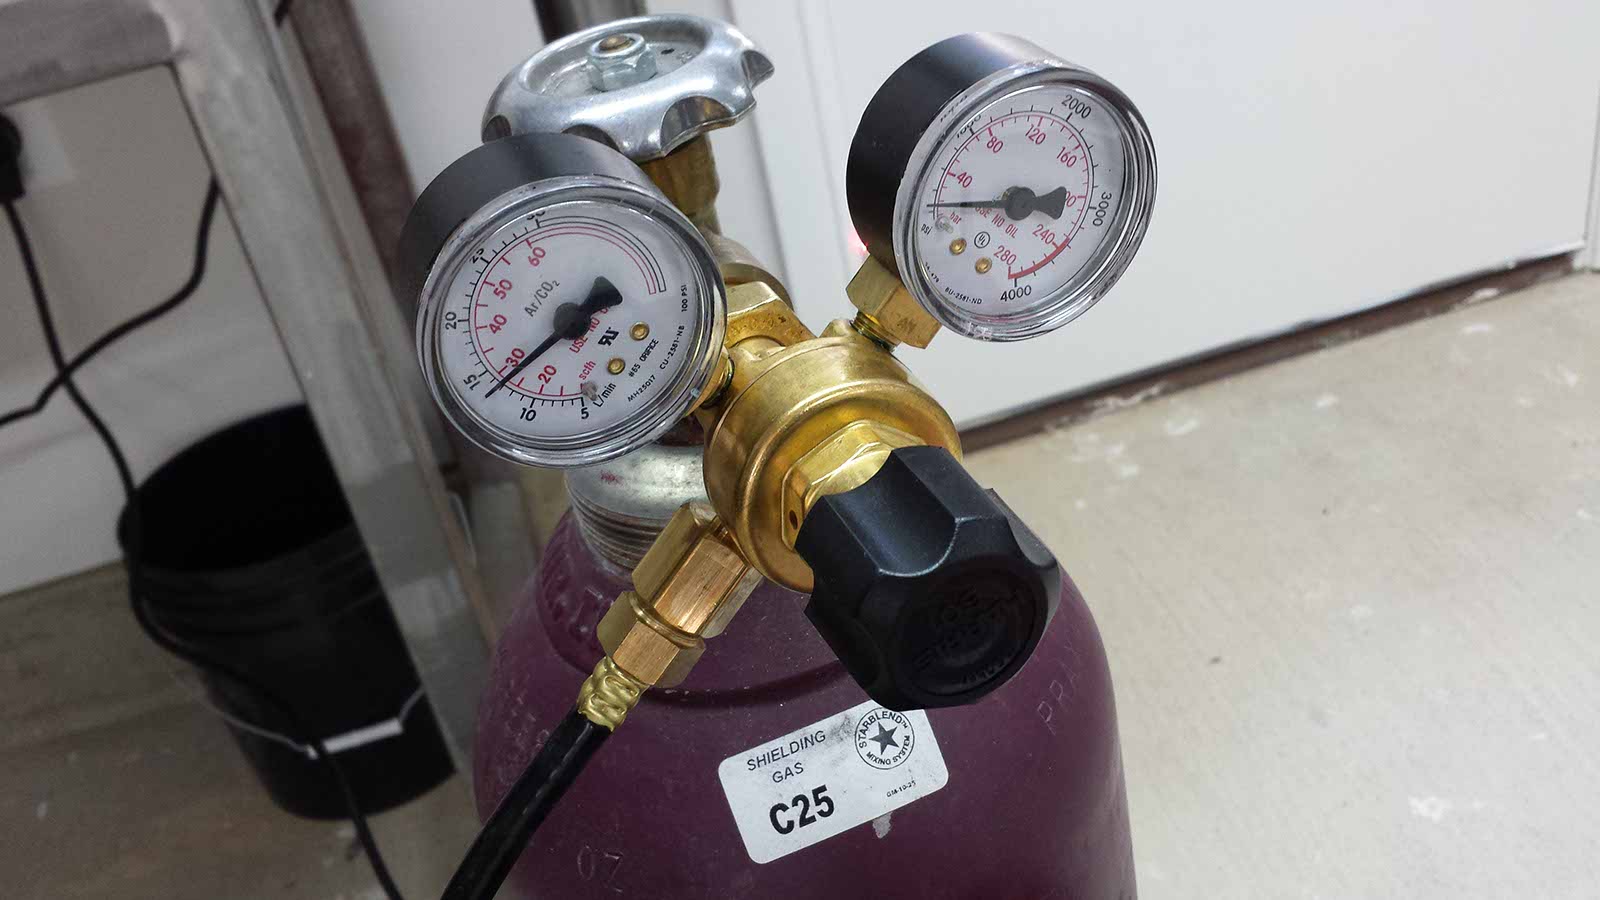
Usually the gauge closest to the bottle is the one that shows you how much gas is in the bottle.
The second
gauge is the gauge you use to adjust the gas. When you are MIG welding you
want to be able to adjust the gas pressure as it comes out. Maybe between 15-35
psi.
TIP: If you set the pressure high it will work well but you want to
get it to the point where you have as little gas coming out as possible but still be able to weld well. This way you will save
money because gas is expensive and if you are setting it high you'll run out of gas faster.
Starting To Weld:
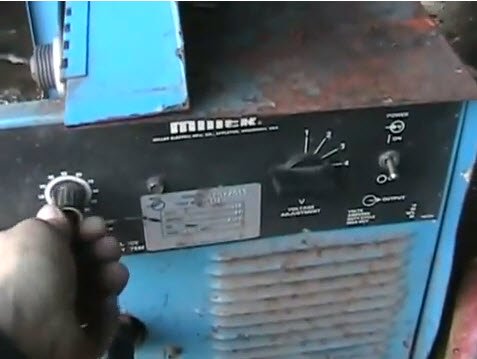
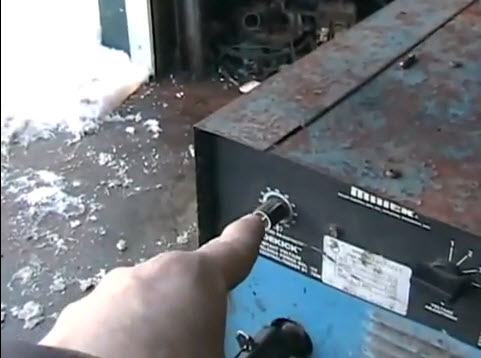
This gauge on your welder is your wire feed speed:
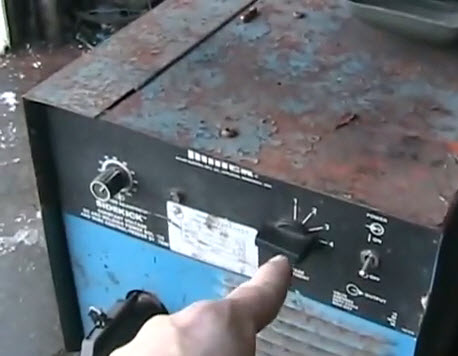
This is your amperage setting:
This welder only has four positions on the amperage settings. But some MIG welding machines have an infinite number of positions for more finite tweaking.
Settings:
- When
welding regular sheet metal (in terms of thickness) like on a car body you would
most often do a setting at 1, or sometimes 2.
- When you are welding metal up to
to an 1/8th of an inch thick you can try using setting 3.
- When welding metal up to ¼ inch thick use position #4.o a wire feed welder that has 130 amps like this one is really only good for metal up to ¼-inch thick.
TIP: If you want to weld thicker than that it is a good idea to use just an AC stick welder, or a 220 volt or 550 volt mig welder so that you can weld metal thick as you want.
Advantages and Disadvantages of MIG:
The advantage of the gas system is it does product the best quality welds. There is no slag on and it's controllable. Your welds will look good.
The disadvantage of MIG welding is the cost. A good quality name brand welder with a bottle of gas can cost costs at least $1000.00.
Flux Core Welding Advantages:
The advantage of having a flux core welder is you can weld outside without any fear of the wind causing you problems (you can't MIG weld in the wind because it will blow your gas away).
Flux core welders work very well outdoors.
Flux Core Welding Disadvantages:
Although MIG welding works terrible outside, the the disadvantage of flux core welding is that the welds are not nice to look at. There is slag and they are not pretty welds (they are not smooth and round like a MIG weld), and they are lumpy.
But the flux core welders cost about half as much as a good MIG welder.
Ready To Weld?
The first thing you need to check when you are ready to start welding is is to make sure that your main cable (the cable that runs from your welding machine to your welding gun) is in good order; it's as straight as it can be.
You always want your main cable feed to be as straight as possible, or if you have to have curves then make sure they are not to curvy. This will prevent your wire from getting all jammed up.
MIG welders do not weld well if there is rust or slag on your metal. The other huge disadvantage of rusty metal or metal with slag on it is that it contaminates your weld and makes it very weak.
Another disadvantage is that rust and slag both contain oxygen. Oxygen is released while you are welding and destroys your weld.
Side Bar: high amperage stick welders actually work pretty good on rusty metal because they can burn themselves right through.
Now if you are going to weld this piece of metal you would hold your tip where the wire comes out about 3 mm or an 1/8th of an inch away from the surface, of course the surface would be clean, and you would do little slow zigzags as you MIG weld:
MIG Welding Tips:
- Weld in a straight line because it will make a horrible weld
that kind of sticks up and does not fuse both metals surfaces.
- Always zig zag back and forth. Hold your welder at an angle or hold it almost straight:

- Always try to maintain the same gap around 1/8th of an inch all the way.
- If you don't have a welding cart to keep your gas cylinder secure and upright, always lay it down because if your cylinder topples over the spigot and break off and then the gas will leak out and your cylinder will spin out of control and damage something or hurt someone.
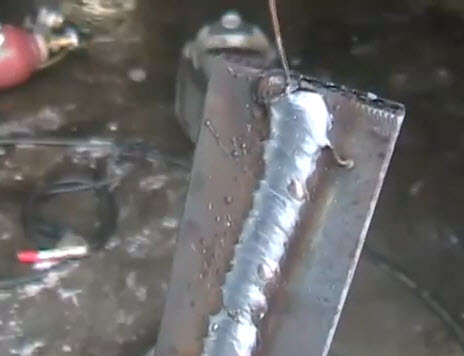
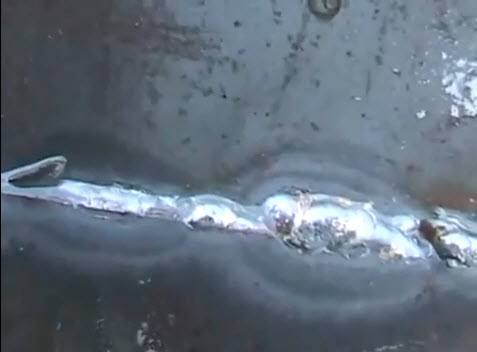
Here is a pretty decent MIG weld using the zig zag technique to get a good smooth weld:
Sheet Metal and MIG:
If you want to weld sheet metal together using the MIG welding process you will distort and or warp your sheet metal if you weld in a straight line. It will be hard to control if you try it this way and you'll probably ruin your project.
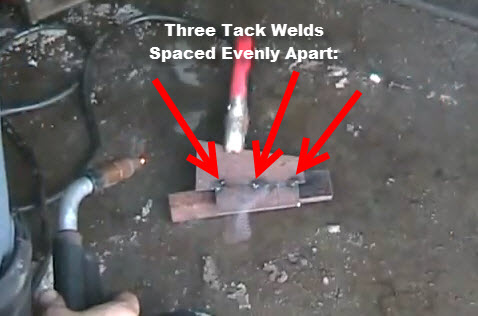
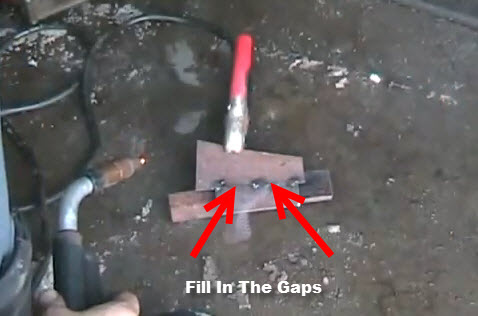
So the way to MIG weld sheet metal is to use tack welds which are small welds spaced far apart. After you tack weld you will fill in the gaps between the tack welds.
Then fill in a gaps:
It's tacked into position so now we start to do little welds and work back and forth from one gap to the other.
Sheet Metal TIP: Since you are MIG welding sheet metal you will probably have to use a damp rag to cool the welds off because otherwise it may distort.
When you weld thin metal your welds will resemble little tiny dots because otherwise if you MIG weld it as your would thicker metal you will burn through it.
Is Your MIG Weld Strong?
Here's how to figure out if your weld is strong: Check the penetration on the back side of your weld if you can.
For example here is the backside of the previous weld I did above:
As you can see there is a little bit melting through I have some little melting through which shows you that this is probably stronger than the original metal.
Welding Aluminum:
Many MIG welders can weld aluminum and other types of metals.
When you use a MIG welder to weld aluminum you'll have a slightly different set up because the wire you will use is not as stiff as steel wire.
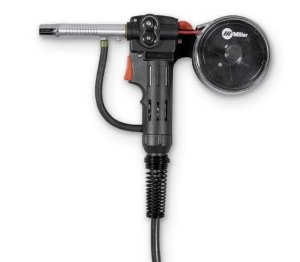
If the wire you use to weld aluminum was used as I have shown you above I would get a different hose/cable and a headset (spool gun).
A spool gun has a motor that spins a spool of aluminum wire so that it doesn't have to go through a long cable and get jammed up. This way it comes out no problem.
You'll also use a different gas for welding aluminum with your MIG welder.
Rules To Remember!
The rules to remember in terms of MIG welding are:
- Use argon gas for sheet metal welding.
- Use carbon dioxide gas for structural and fabrication welding.
- Use flux core welding wire for welding outside in windy areas of if you don't want to buy the more expensive welders.
- Make sure slag and rust is removed from your welding surface.
- Make tack welds to hold your part in exactly the right position before you start welding or everything will move by heat distortion.
Have A Mig Welding Tip To Share?
Share your mig welding tip here!
What Other Welders Have Said
Click below to see contributions from other visitors to this page...
Don't Discount Flux Core For Entry Users! 


I don't want to start a huge debate on weld quality, etc. with this but don't discount flux core too much.
I work with a lot of high school kids that …
Cleanliness Equals Better Welds! 


My experience with mig welding is that the more effort you put into cleanliness the much better your welding will be. This includes keeping the gum clean …
Welding Aluminum Cans 


Here's how Sonja welded two aluminum soda cans together (and below this is another technique you may want to try):
I used 1/16" tungsten electrode, …
Better starts and better welds 


To help get better starts and better welds, and a more eye pleasing weld, keep a pair of wire cutters handy to clip your wire end before starting a new …
Wire Feed Tension 


The best way to check your wire feed tension is to hold your hand about an inch from the nozzle.
Trigger the gun; if the wire stops while the gun is …
How To Produce a Good Bead 


In order to produce a good bead you first need to mock the pass without initiating the gun trigger. This will reveal any obstacles that may influence the …
Weld the easy way! 
The easiest way to set your wire speed...
Solid Wire - Get yourself a piece of scrap you can weld on a little and set it grounded. Set your heat to …
Downhill MIG Weld Not rated yet
I'm a welder and I build corrals all day. For the thicker metals mig welding down hill, I use a weave method mixed with an up and down motion. And out …
EQC Welding Shield Tip! Not rated yet
I switched to the modern EQC welding shield. I had no idea the batteries can go away all of a sudden.
I have been welding for quite time now. I am currently …
Related Articles:
- MIG Tips.
- Wire Size Tips.
- MIG Weld Aluminum.
- Setting Up Your Welder.
- Metal Transfer Types.
- MIG and TIG Shielding Gas Tips.
- Metals You Can Weld (GMAW).
- 220V Welder and Your Dryer.
Welding Plans:
New! Welding Table
New! Log Splitter
Top Projects:
