Spinner Target Welding Project
Spinner Target Project Part 1:
By David Babcock
I was in the backyard the other day and found some old Rebar that we screwed up when pouring our patio (15' x 32'). I'd forgotten we'd thrown it back there and wondered what I could do with it rather than just take it to the scrap yard.
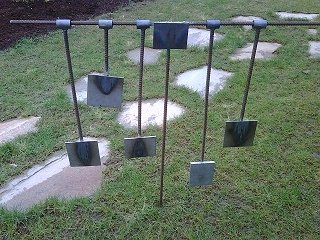
I had just signed my son up for Hunter Safety Class and figured he could get some practice in with a target system like this one here.
I'd seen several of these at the stores (much smaller), and thought I could just weld one up for a quite a bit cheaper since I already had the Rebar.
I was asked to provide this tutorial after I'd put it together and painted them up, so some pictures are already done. Sorry about that.
Part 2:
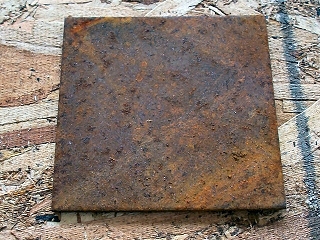
Since I had the rebar already, I made a trip to the local metal scrap yard (Man I love that place). I bought a bunch of these plates that were in a bin. They had various sizes, shapes, thicknesses, etc.
I just grabbed a few plates that I thought the boy could hit at a short distance, but made sure they were big enough that as his aim improved they could be moved farther down range and still be able to hit them relatively easy. I cleaned the rust off of the plates and welded them up.
Part 3:
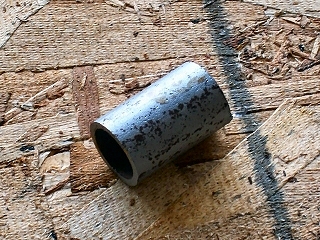
I also purchased a short length of tubing to use as a rotating point when a successful hit was acquired to take some of the stress away from the unit, and to provide positive feedback when it's swaying and the "Ding" is heard from down range! I already cut these to length, and again, since this is a target system for a .22 and or Pellet Gun, everything was eyeballed.
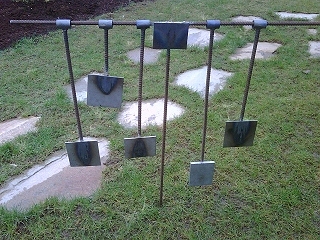
I cut the "T" lengths and tacked them together. Once I got them squared (eyeballed) I tacked them together to hold them in place and then welded them completely together. I then tacked one of the plates to the "T" and welded it all the way around to give it strength and keep it from breaking loose the "T" welds. It also provided another "Dinger!" (What a great sound)
Step 4:
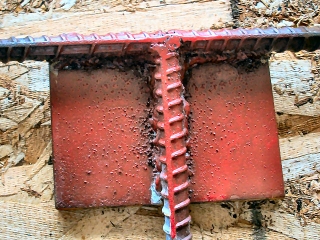
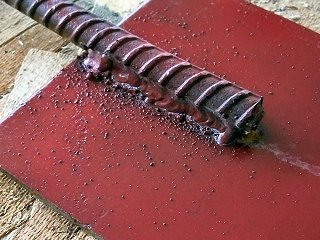
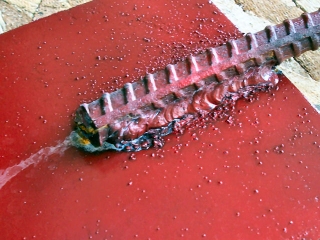
Next I welded the plates to the various lengths of rebar to make the swinging targets. Again, I tacked them first to hold them in place, and then ran beads the length of the target plates.
I figured since these will be taking quite a bit of stress from multiple hits from both Pellets and .22 rounds, they could use the bead over the entire length on both sides instead of some short stitches. (I had Flux Core loaded up in the MIG so it's a bit messy).
I'm also a Beginner Hobby Welder so be nice and not critique too loudly at my welds :)
Step 5:
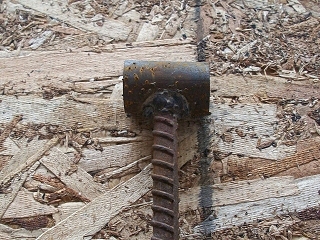
After this I attached the cut pipe pieces to the other end of the rebar and welded them up all the way around.
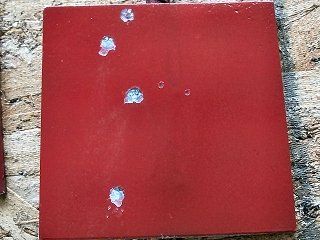
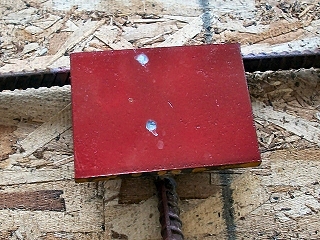
Once they cooled a bit, I grabbed a rattle can of Red and sprayed the plates a couple of times, hung them on the "T" and gave it a whirl with the Pellet Gun in the backyard.
Step 6:
I left the "T" open ended so I could remove, adjust, and add dingers as I wanted. It also makes it a bit lighter and easier to move around with all of the pendulums off of the T when putting it in the ground, transporting it and storing it.
Spinner Target Project Conclusion.
Quick and fun little project for everyone to enjoy. Good for beginners such as myself, or a kid wanting to get into welding and shooting at the same time! I hope you enjoyed the tutorial, and would love to hear about modifications, adjustments and see others peoples ideas! Have a great one, and ENJOY.
Welding Plans:
New! Welding Table
New! Log Splitter
Top Projects:
